
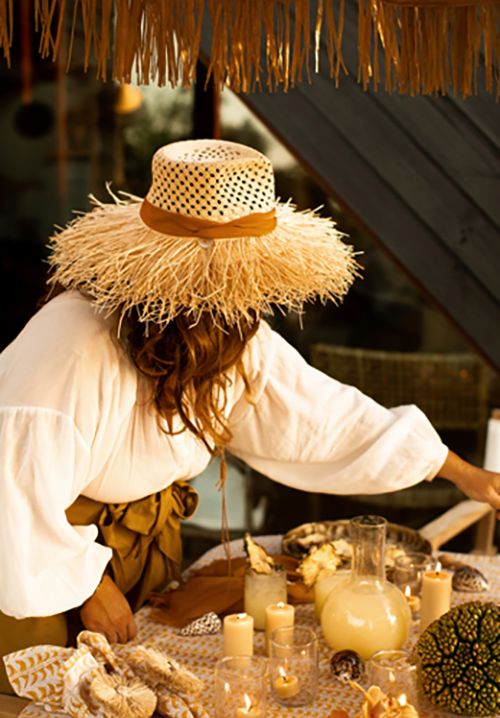
You never know what’s going to happen next and for us, that has meant moving back into our old little timber cottage. I wasn’t sure how being back would feel, but the house fits like an old familiar shoe and we are so happy here.
When we first moved into this house over 10 years ago, it needed a LOT of love. It was my first renovation and boy did I learn a thing or two.
I thought I would share my top 10 tips and tricks to inspire you in your own renovation.
1. Paint the Walls White


Above: A fresh coat of paint was the first step in our cottage renovation.
First things first, I knew that I wanted to paint the whole house white and bounce the natural light around. This is a really vibrant uplifting white called ‘Popcorn’ by Porter’s Paints. Those white walls became our canvas.
2. Limewash the Floors


Above: White floors are so versatile. I ended up giving mine three coats of wood wash to achieve the look I wanted. ‘Wild Horses‘ in medium hangs on the wall.
After we had painted the walls I sanded the floors back and attacked the job with a passion only someone who has never sanded floors can have. I hired a sander from Bunnings and spent the next week with only one thing on my mind.
My hot tip here is: if you can, get someone in to do it. It’s a REAL JOB. It took a full week. We slept on the floor on the deck while we were doing it. If you want more details on the floors I wrote about it here, here, here, and here.
After the sanding journey was over it was time to start adding the lime wash. We used Porter’s Paints Wood Wash in the standard colour (no tint), which I applied with a brush and muslin.
Here are my top tips when limewashing your floors.
Floors are such an important element in any room. You don’t realise until you attempt to do something major to them. They form such a strong foundation in terms of creating texture and tonal colour that dictates the room.
3. Add Layers of Nature and Art


Above: A medium framed ‘Wild Horses‘ print in a custom framing style. My first piece of art. I’ll always remember the feeling of bringing it home and leaning it in the cottage hallway.
Next I started to decorate and introduce layers. I decorated with little bits and pieces to tell the story of me of that time. You can see that in the way I styled my ‘Wild Horses’ print. These are the books that I was interested in and the accessories I was wearing.
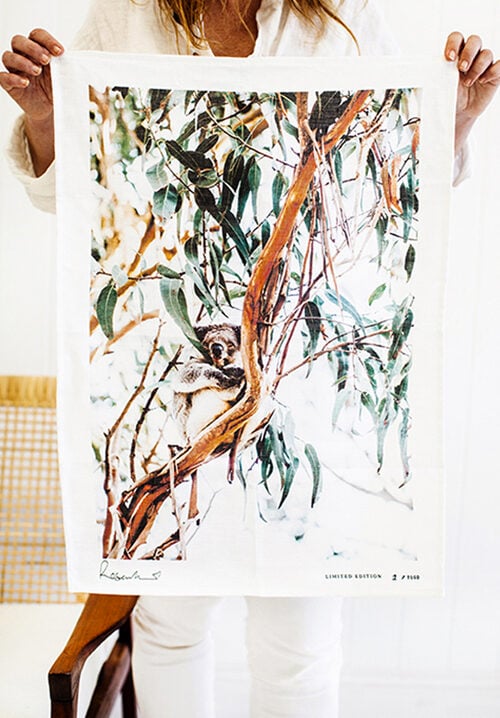
Most of my renovation was about being really creative and cost-saving with my design solutions. This print was the first piece of art I owned. I had taken the photograph while shooting for my first book Shelter and thought it would work really well in our home. I’d never printed any of my own work at this size and had it framed by a professional art framer. It felt so fresh and contemporary.
I’ll never forget the moment I brought it into my home. It will always be a very special piece to me.
4. Search Facebook Marketplace for Objects to Decorate With


Above: I chose open shelving from IKEA and objects sourced from second hand shops and country fairs for our cottage kitchen.
Then I got into the kitchen. I wanted open shelving and sourced these ones from Ikea and added lots of vintage layers to make the house feel really homely. I collected these pieces in country flea markets and old ware shops as my collection grew. If I was looking for these objects now I would search Facebook market place.
5. Use Everyday Objects as Decoration


Above: I always use repetition in my styling to create impact in a room.
I love having my utensils, plates and bowls out on display and within easy access and you’ll always find foliage snipped from my garden in my home.
6. Give Old Pieces New Life


Above: A ladder and light found in a second hand shop in the cottage bedroom. In the bathroom an old claw-footed bath was re-enamelled to give it a second life.
Always think about restoring over buying new if you can. I found a second-hand pedestal sink and claw-footed bath for the bathroom and had them re-enameled to bring them back to their former glory. I would search Facebook marketplace if I was doing this today.
7. Use Built-in Benches to Save Space and Money


Above: My weatherboard cottage dining room styled two ways. Left: Featuring a large custom framed ‘Bridle Track‘ print. Right: Featuring a medium custom framed ‘Wild Horses‘ print.
We built some benches into the small dining room and had the cushions upholstered in soft linen. They have a zip so you can take them off and they are easy to wash.
8. Get Creative with Marble Sourcing


Above: I got creative when sourcing the marble for my kitchen island.
When I said I was on a budget I meant it. I sourced the marble for my kitchen island from a stonemason who did headstones – this slab was an offcut that was going cheap. If you work a bit harder you can achieve nice things at a more affordable price and leave budget for really personal, meaningful pieces like art.
9. Make the Bedroom an Escape


Above: A bedroom in my cottage layered with natural textures and colours. A medium custom framed seascape print called ‘Ocean Swim’ helps to create a relaxing atmosphere in this room.
I always choose a seascape print as art for the bedroom. They are my favourite artworks to introduce and I choose my bedding layers according to the palette.
10. Use Repetition When You’re Styling Your Rooms


Above: The cottage living room is a small, cosy space. I kept it simple with a white couch and large size photographic print with my signature framing from my landscape collection.
The key to success in this room is repetition. The floor, walls, white couch and timeless print as artwork above the couch are the anchors and the repetition in the cushions is the final layer that helps to create an impactful space. Once you have sourced the big items, pick one thing you love and get multiples of it.


Hello Kara, thank you for sharing your design ideas and styling. My head is brimming with all the inspiration! I love your colour palette and print collections. What a beautiful cottage you have!
So wonderful you feel inspirited Wendy! x
Such an inspiring post. Your timber cottage renovation tips are incredibly insightful, especially the focus on natural materials and creating a cozy atmosphere. I love how you balance style with practicality. Thanks for sharing your beautiful transformation and creative ideas.
My pleasure
Kara x